
Recently I moved from one opposite end of London to the other. I went from the West to the East, in a move that has long been coming as I’ve always preferred the East for a variety of reasons, one of them being the proximity to friends as well as loads more street art!
I had been looking for a place that was big enough for my stuff and affordable and had kind of left it as everything seemed to be too small and too expensive. One day while looking at Facebook, a friend posted about a room that was going to be free at her house very soon. I made inquiries, had a look and boom! Four weeks later or so, I was all the way on the other side of town. What made me decide to move? Not only this place is a lot cheaper but also has lots of shops nearby and…. I would have access to not one room, but two small rooms. My dream of having a work room would finally come true!
But, to make it functional and useful for me, I would need a lot of storage for all the art materials as well as a reasonably sized work area. I thought a little bit about it and came up with a plan, to improve the room as it was:
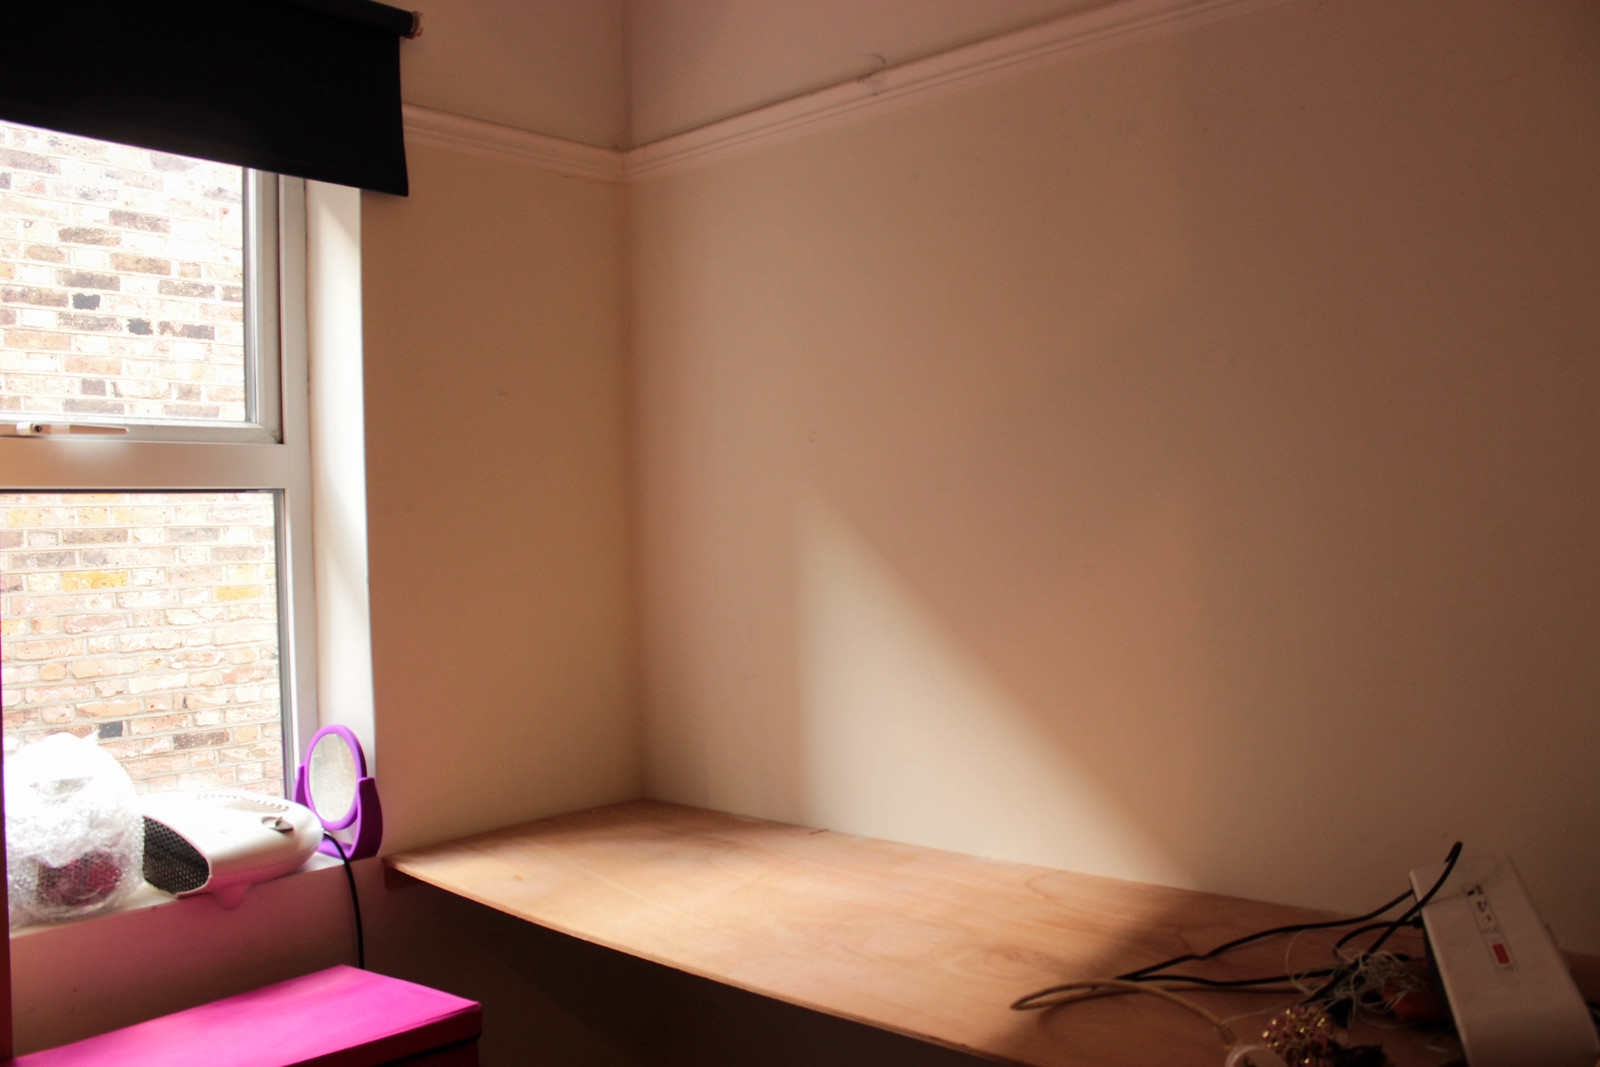
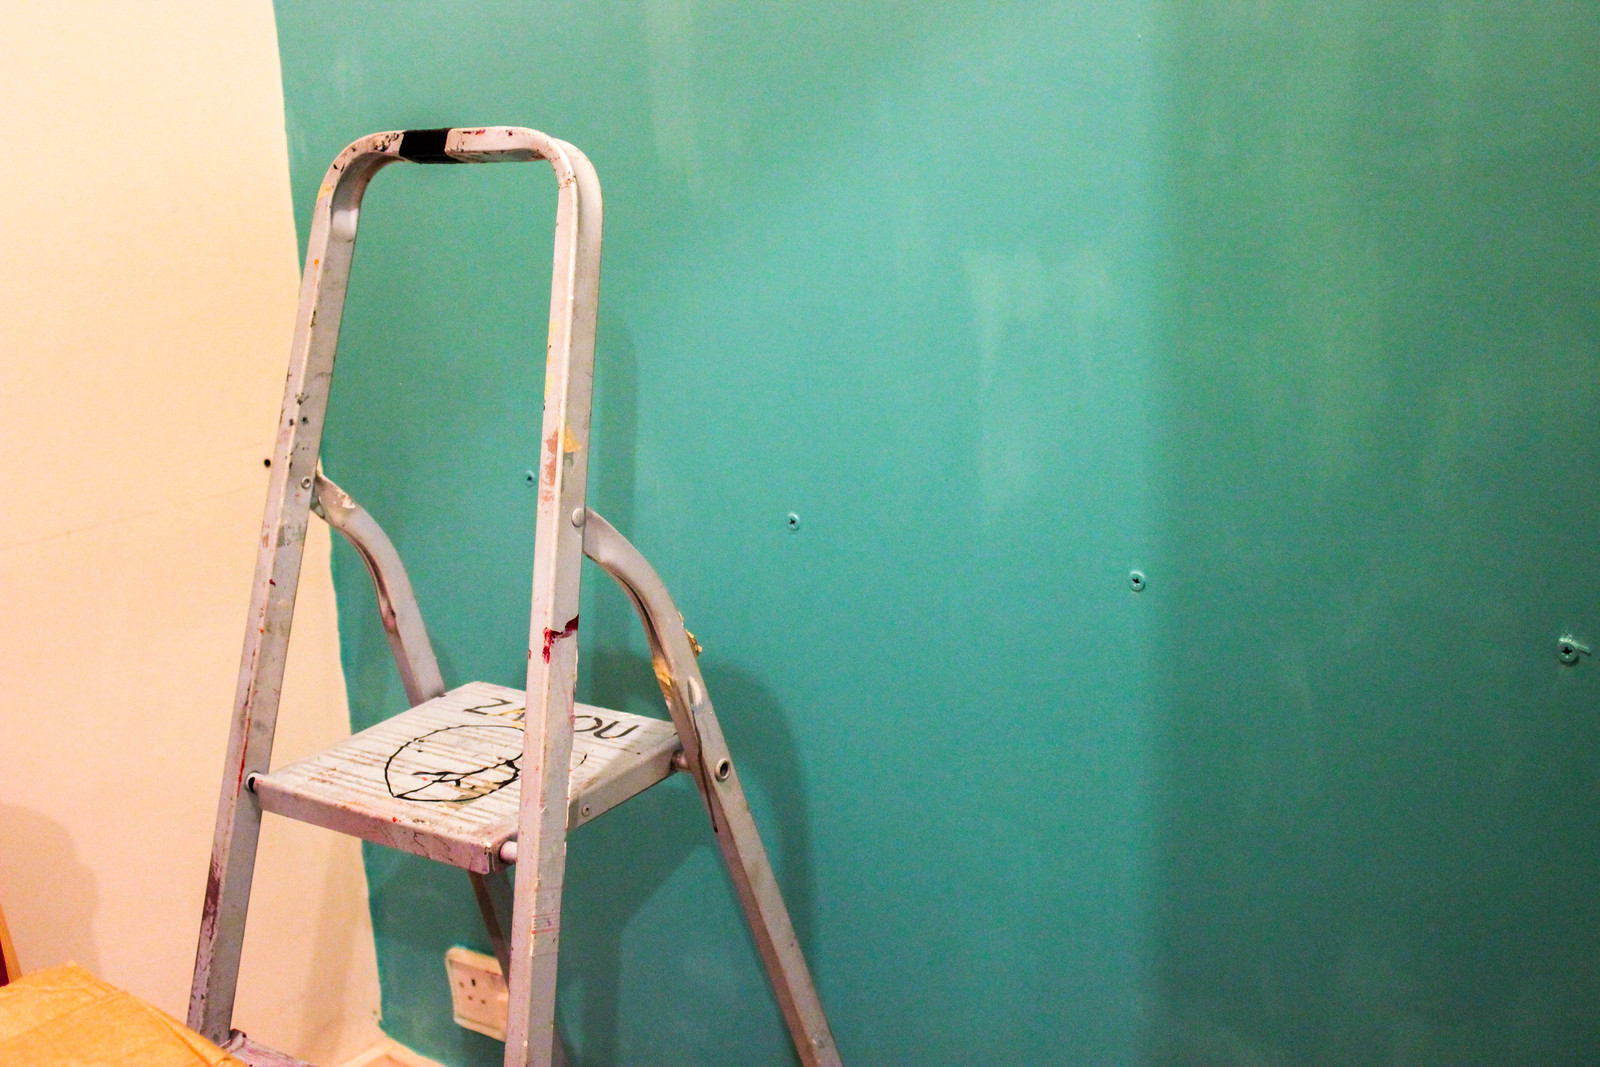
This is how I found the room when I moved in. As the window faces the side of the neighbour’s house and it’s probably the darkest room in the house, I thought that adding a splash of colour on the wall would do well to make it look happier and brighter, especially in the gloomy Winter months. So I got my bum down to Wilko, picked the colour “minted”, borrowed my friend’s ladder and painted the wall. It was super easy and quick, as the wall isn’t that big (the room is quite small).
The paint was decent quality as was the brush I also picked up from Wilko, plus there was enough for us to also add some colour to the kitchen and laundry area. All this for £15, not bad at all.
The second step was to try and maximise storage space, by using up as much wall space as possible. To make things easier I had a look at the Ikea shelf range and found exactly what i was looking for. This means that the shelves not only looked OK but also were easy to assemble.

As for putting them up on the wall, it is something I know how to do but not only I don’t have the appropriate tools but also time and energy is something lacking in my life these days. Bidvine came to the rescue and through the website, I was able to find someone who could come in and do the job, easy peasy.
The process is simple: you post an advert explaining what you need doing in your home, sit back and wait for handymen to apply to the job with a quote. You can then pick the cheapest quote if you like, or the professional with the best reviews. Michael was the name of the gentleman who came around to sort out my shelves and he did a great job and now i have a great set of shelves for all my arty junk (and some shoes too). Bonus: a pic of some of my Irregular Choice shoe boxes on top of the wardrobe, in the work room.
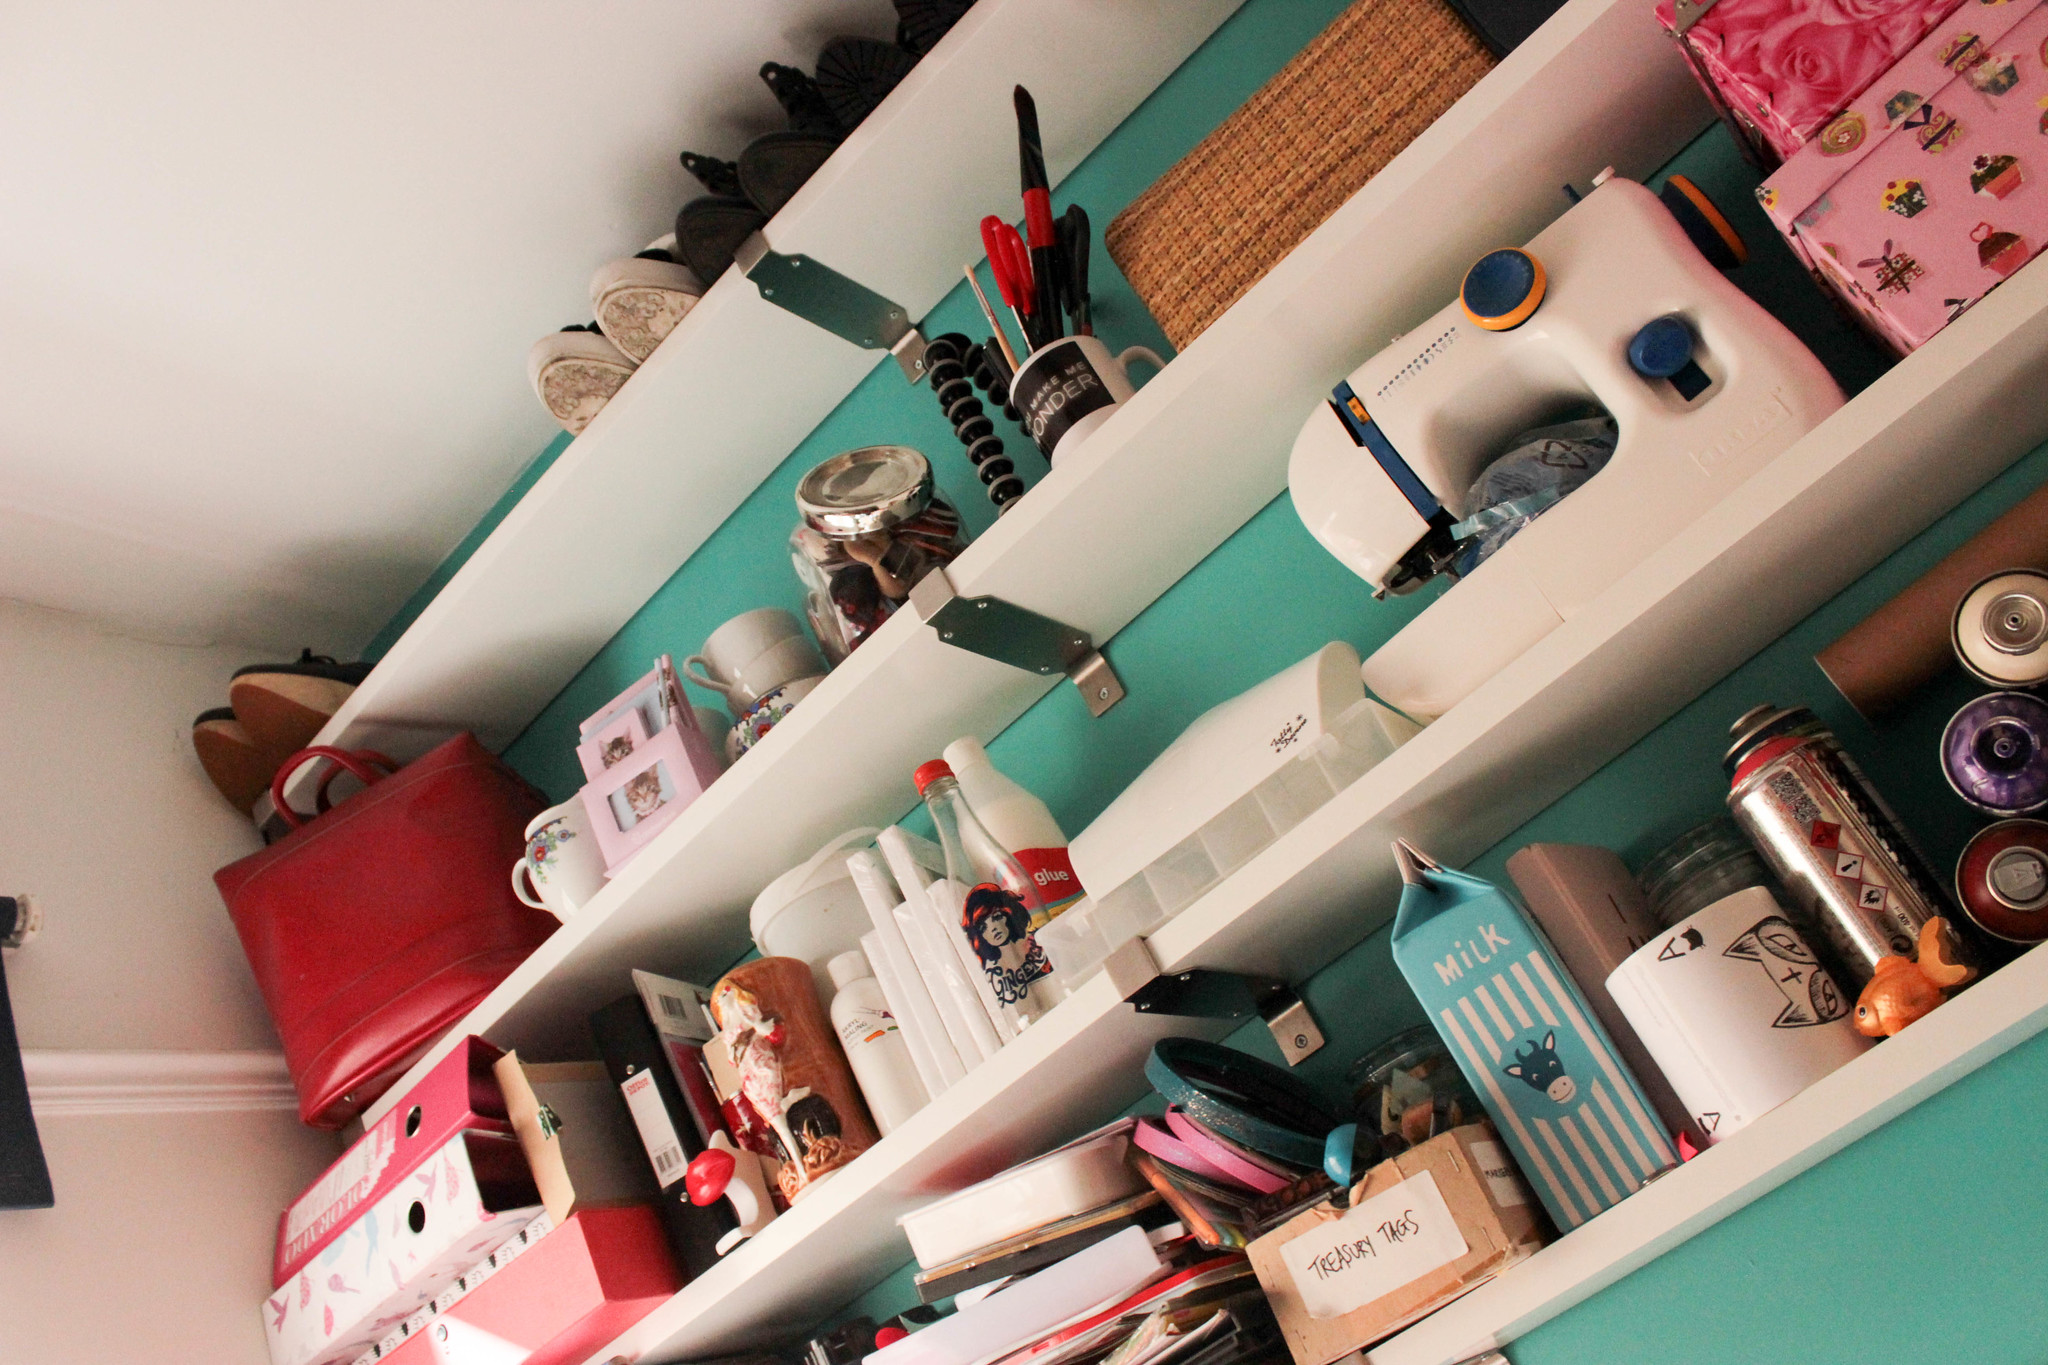
The next step was to start filling up the shelves. That wasn’t too hard, as I had loads of boxes full of stuff. I’ve also become very adept at looking at Trash Nothing! It’s a website just like Freecycle – which allows me now to say that I am crowdsourcing some of my furniture, as well as art supplies! I picked up a drawer unit for the room from an office move, that turned out to be Tatty Devine’s…
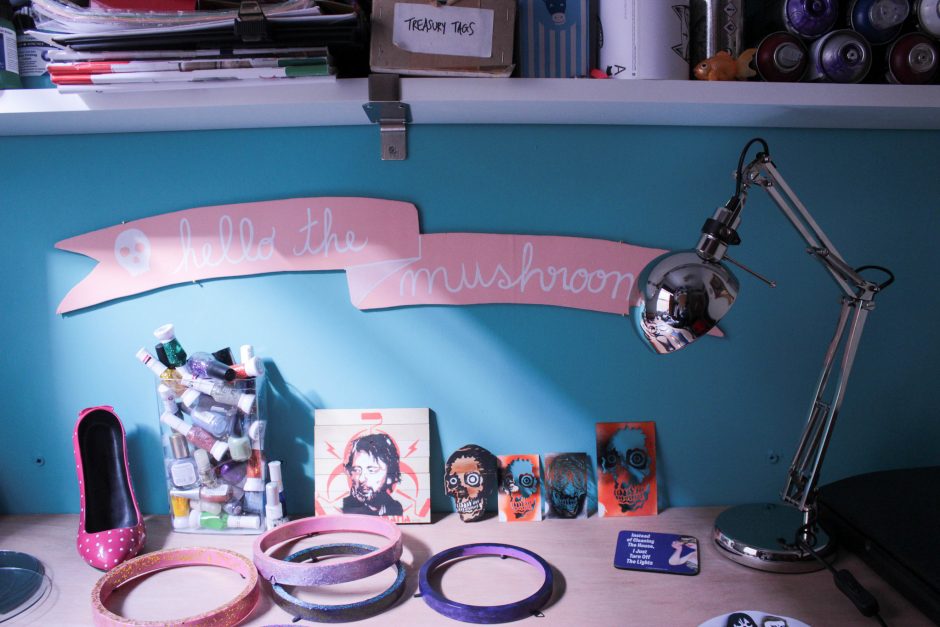
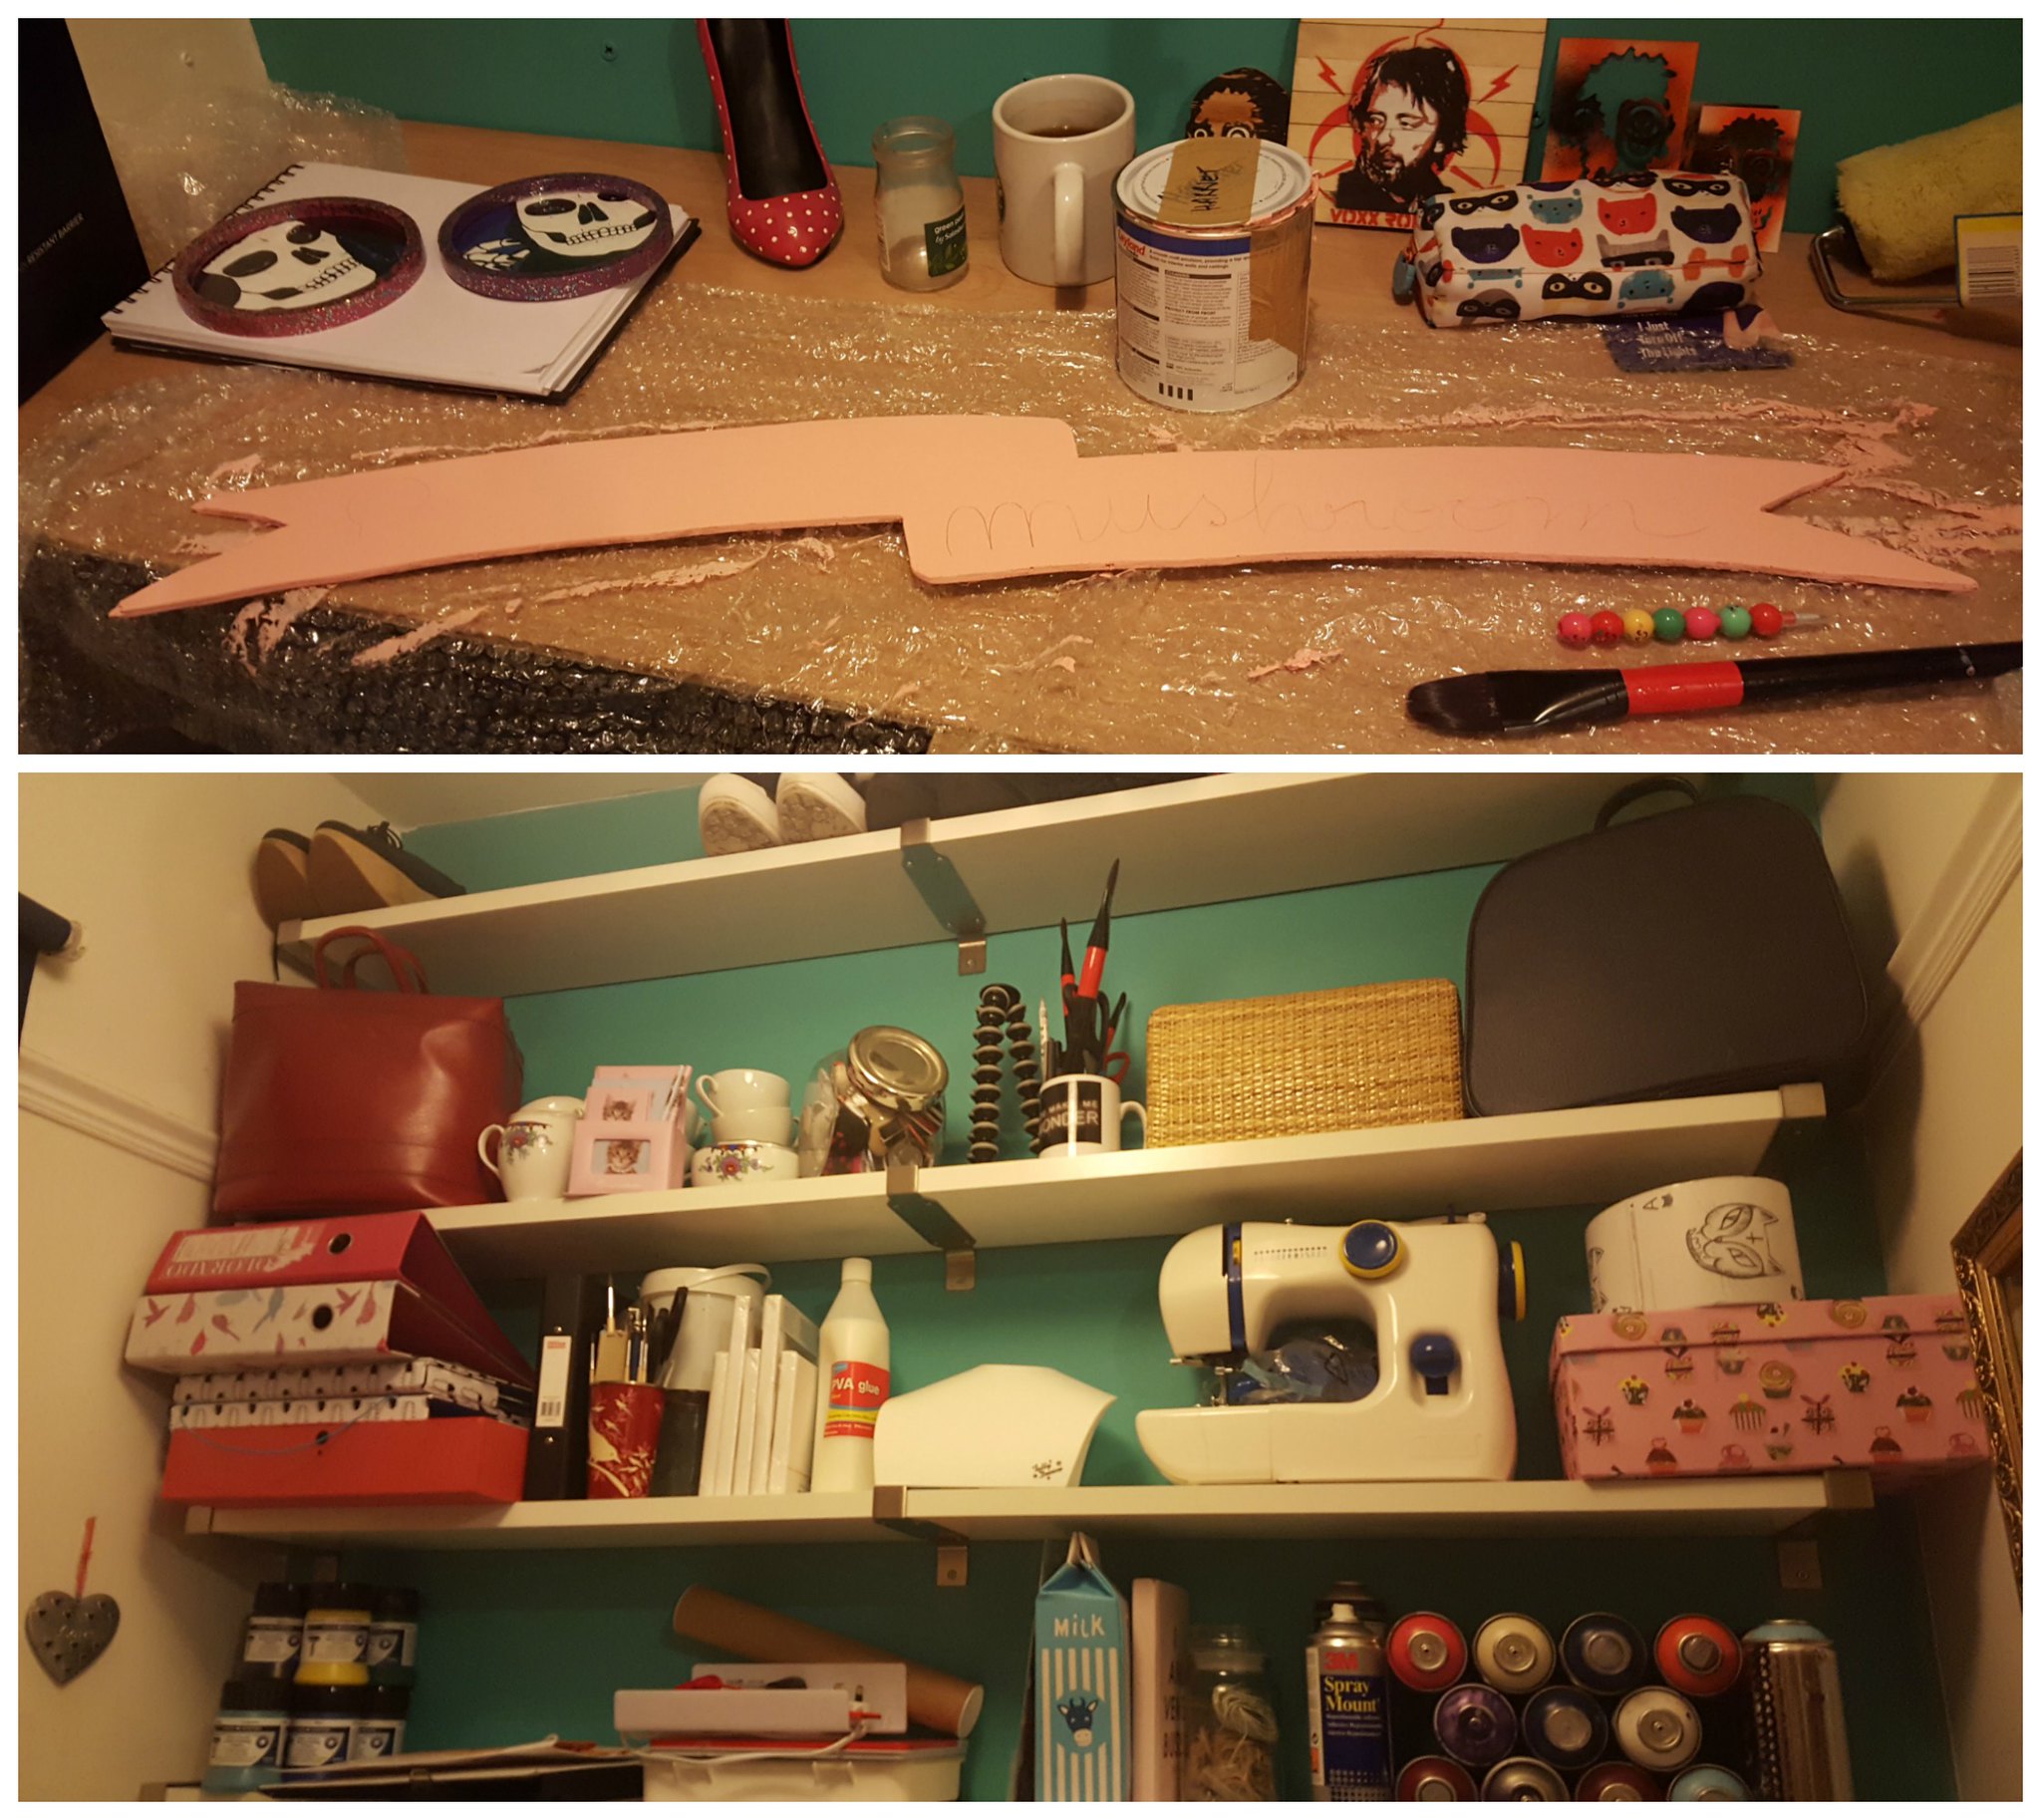
I ended up coming back with the necklace display, a wooden tray where I now keep my markers, the folders you can see on the photo, tools, a desk lamp for my housemate, champagne glasses, rolls and rolls of vintage wallpaper which I will happily use in my future projects, cans of paint and an assortment of stationery. One man’s trash is another man’s treasure as they say, and I am enjoying this process of recycling things and giving them a new lease of life. One of the most important pieces that I brought home was the wooden ribbon you can see in the intro to this post, which was part of a Tatty Devine display at some point. I immediately visualised it as a great personalised wall piece and so it is what it became. Ta da!
(Apologies for the yellowness of the previous pics but I took them as behind the scenes photos with my phone, as I was doing things in the evenings.)
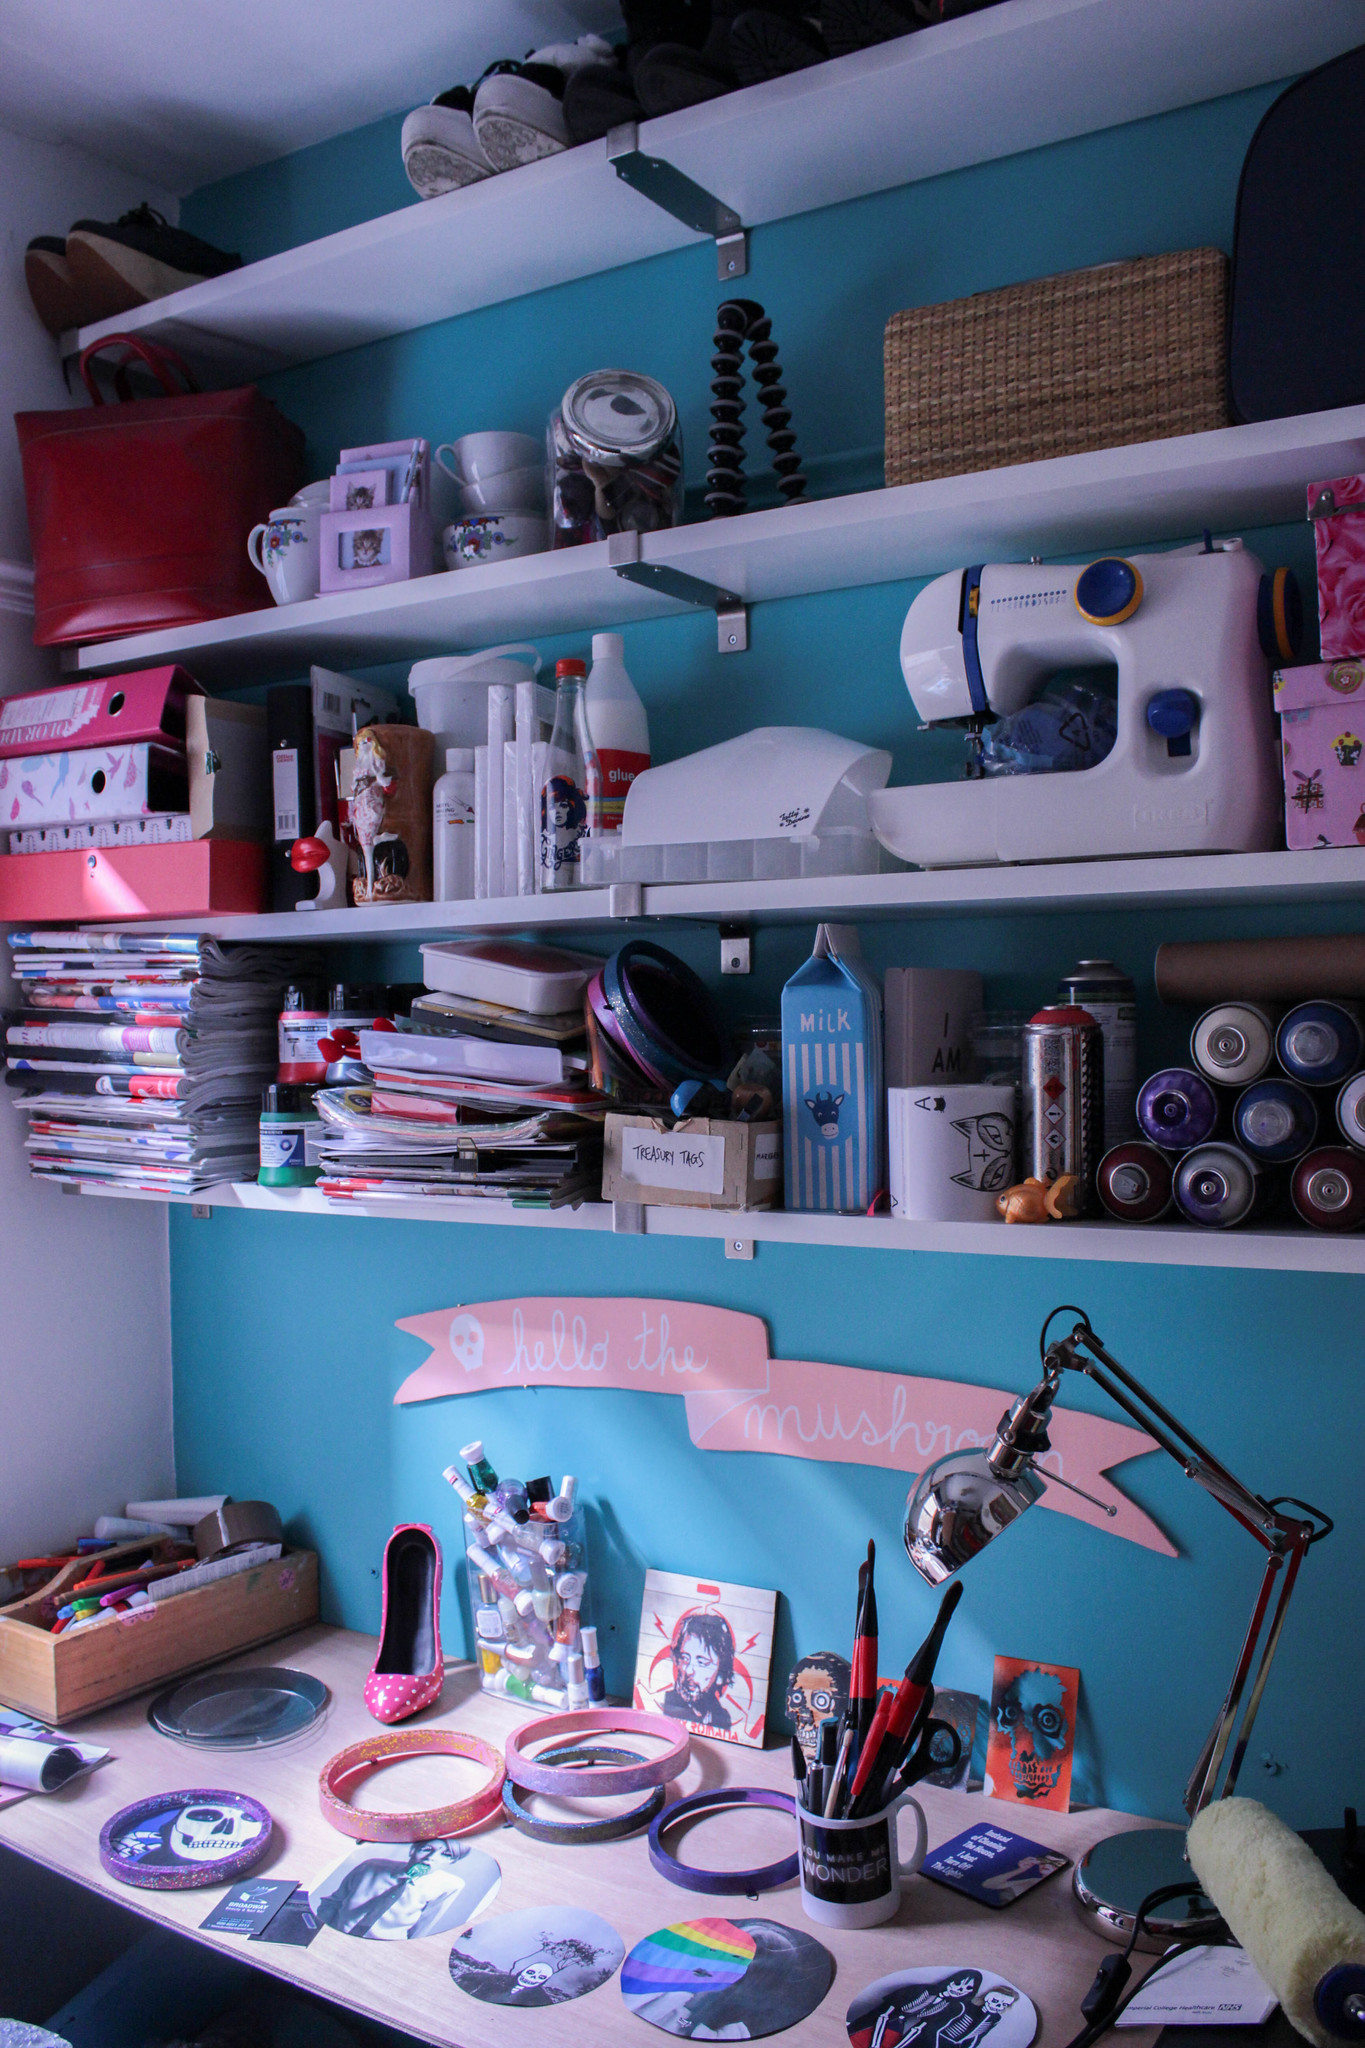
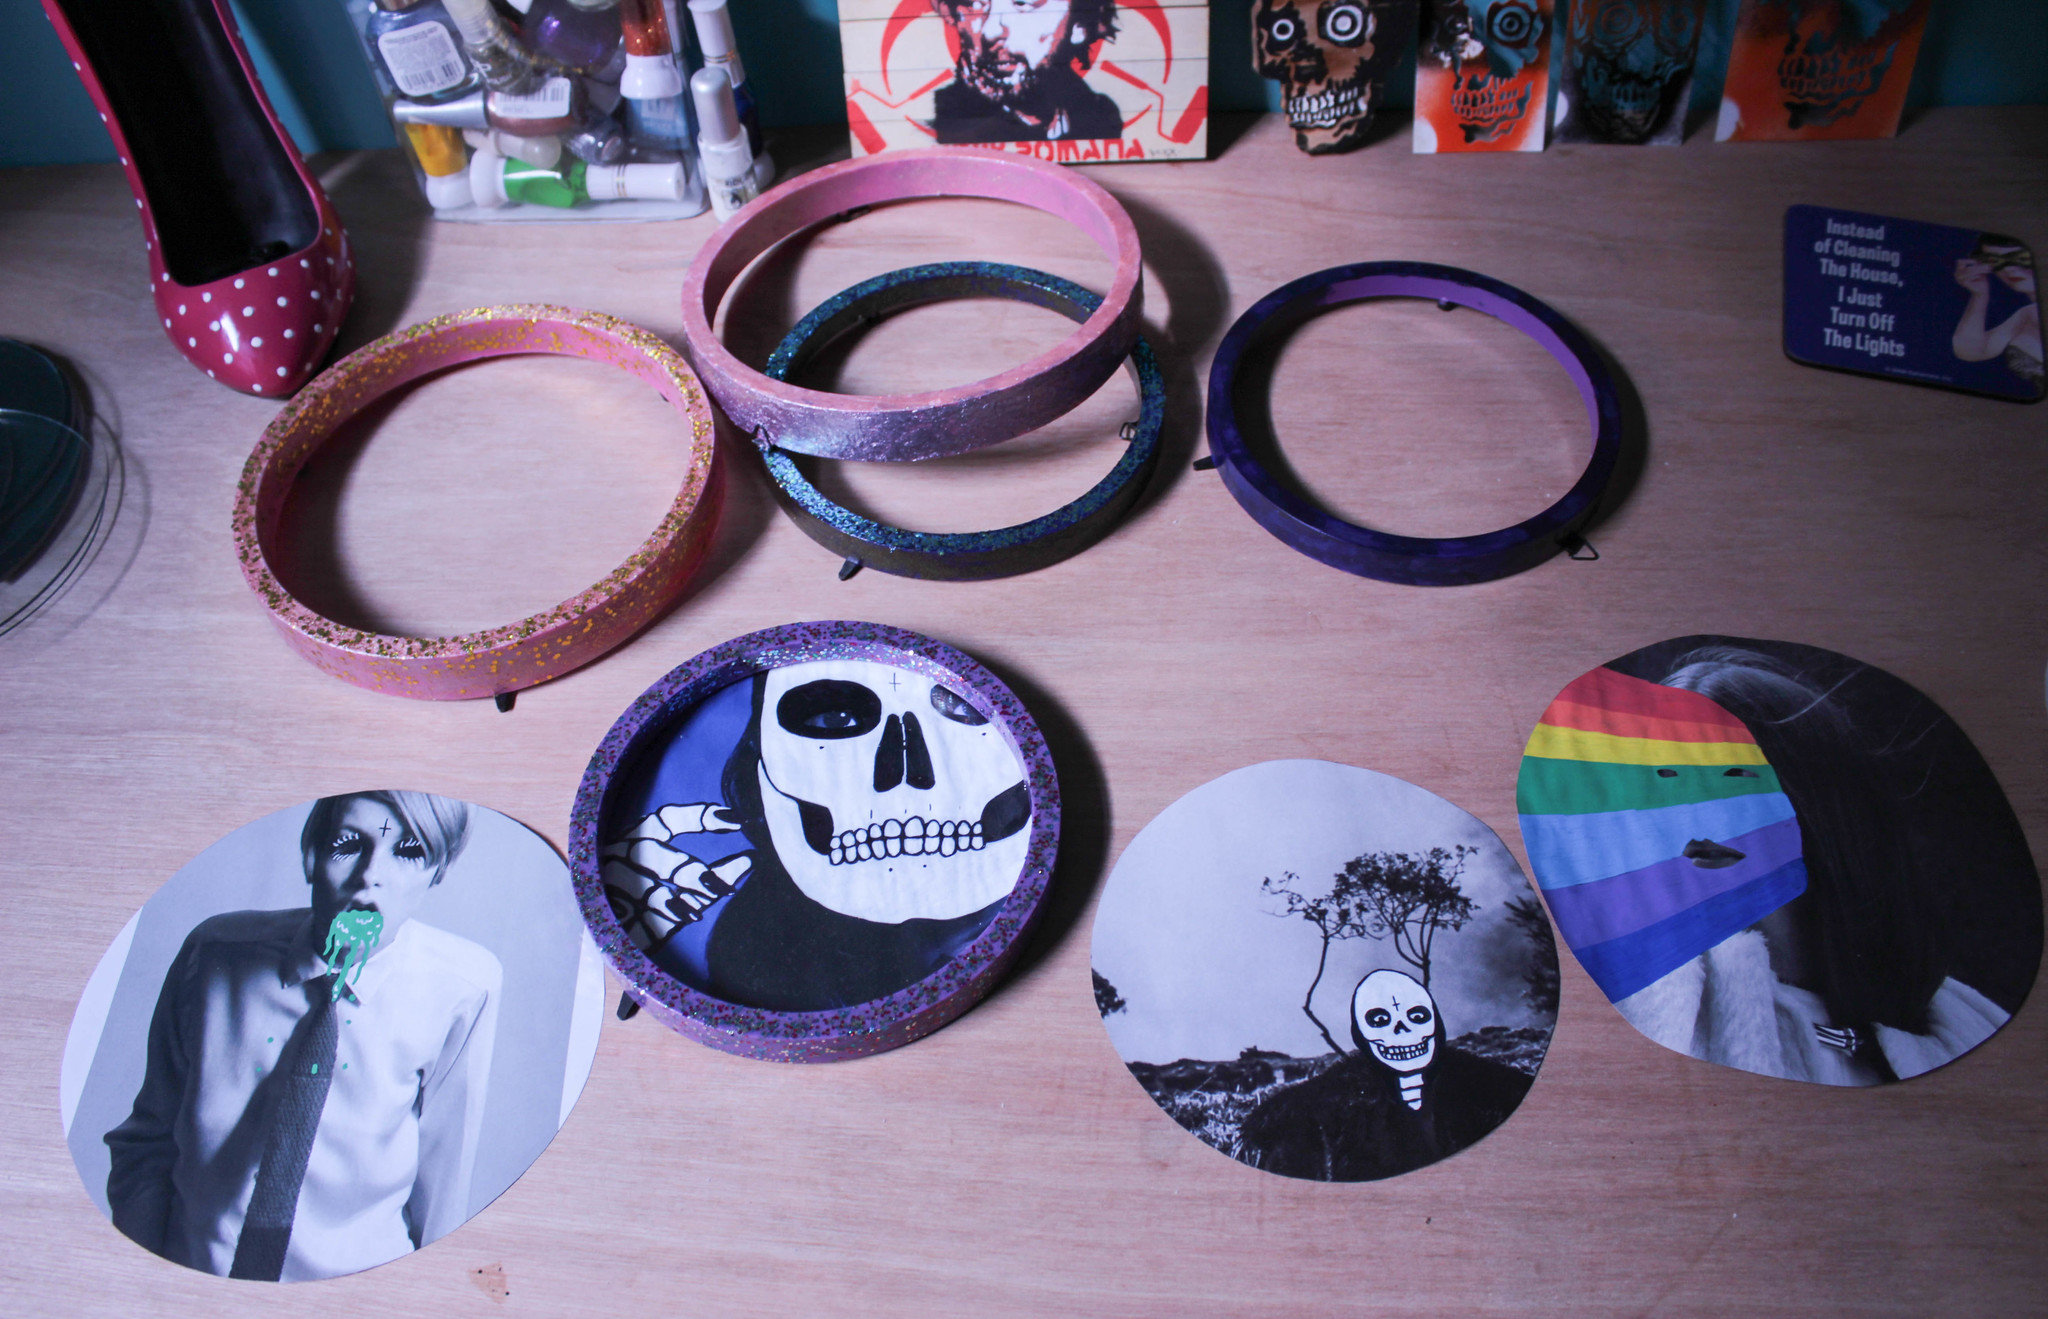
Despite the room not being finished and not fully organised, I have already started using it to make a few pieces here and there. On the desk you can see a box full of nail polish – I am using these to glitter the round frames you see in the picture. You can also see a piece by Voxx Romana, a gift from the artist and a skull by RX Skulls, as well as a few skull stencils, also a gift from the artist himself, by occasion of the PDX-LDN exhibition at BSMT Space gallery a few weeks back. Permanent inspiration right in front of me! Also, in case anyone wants to know, the chrome desk lamp was a good bargain from Ikea.
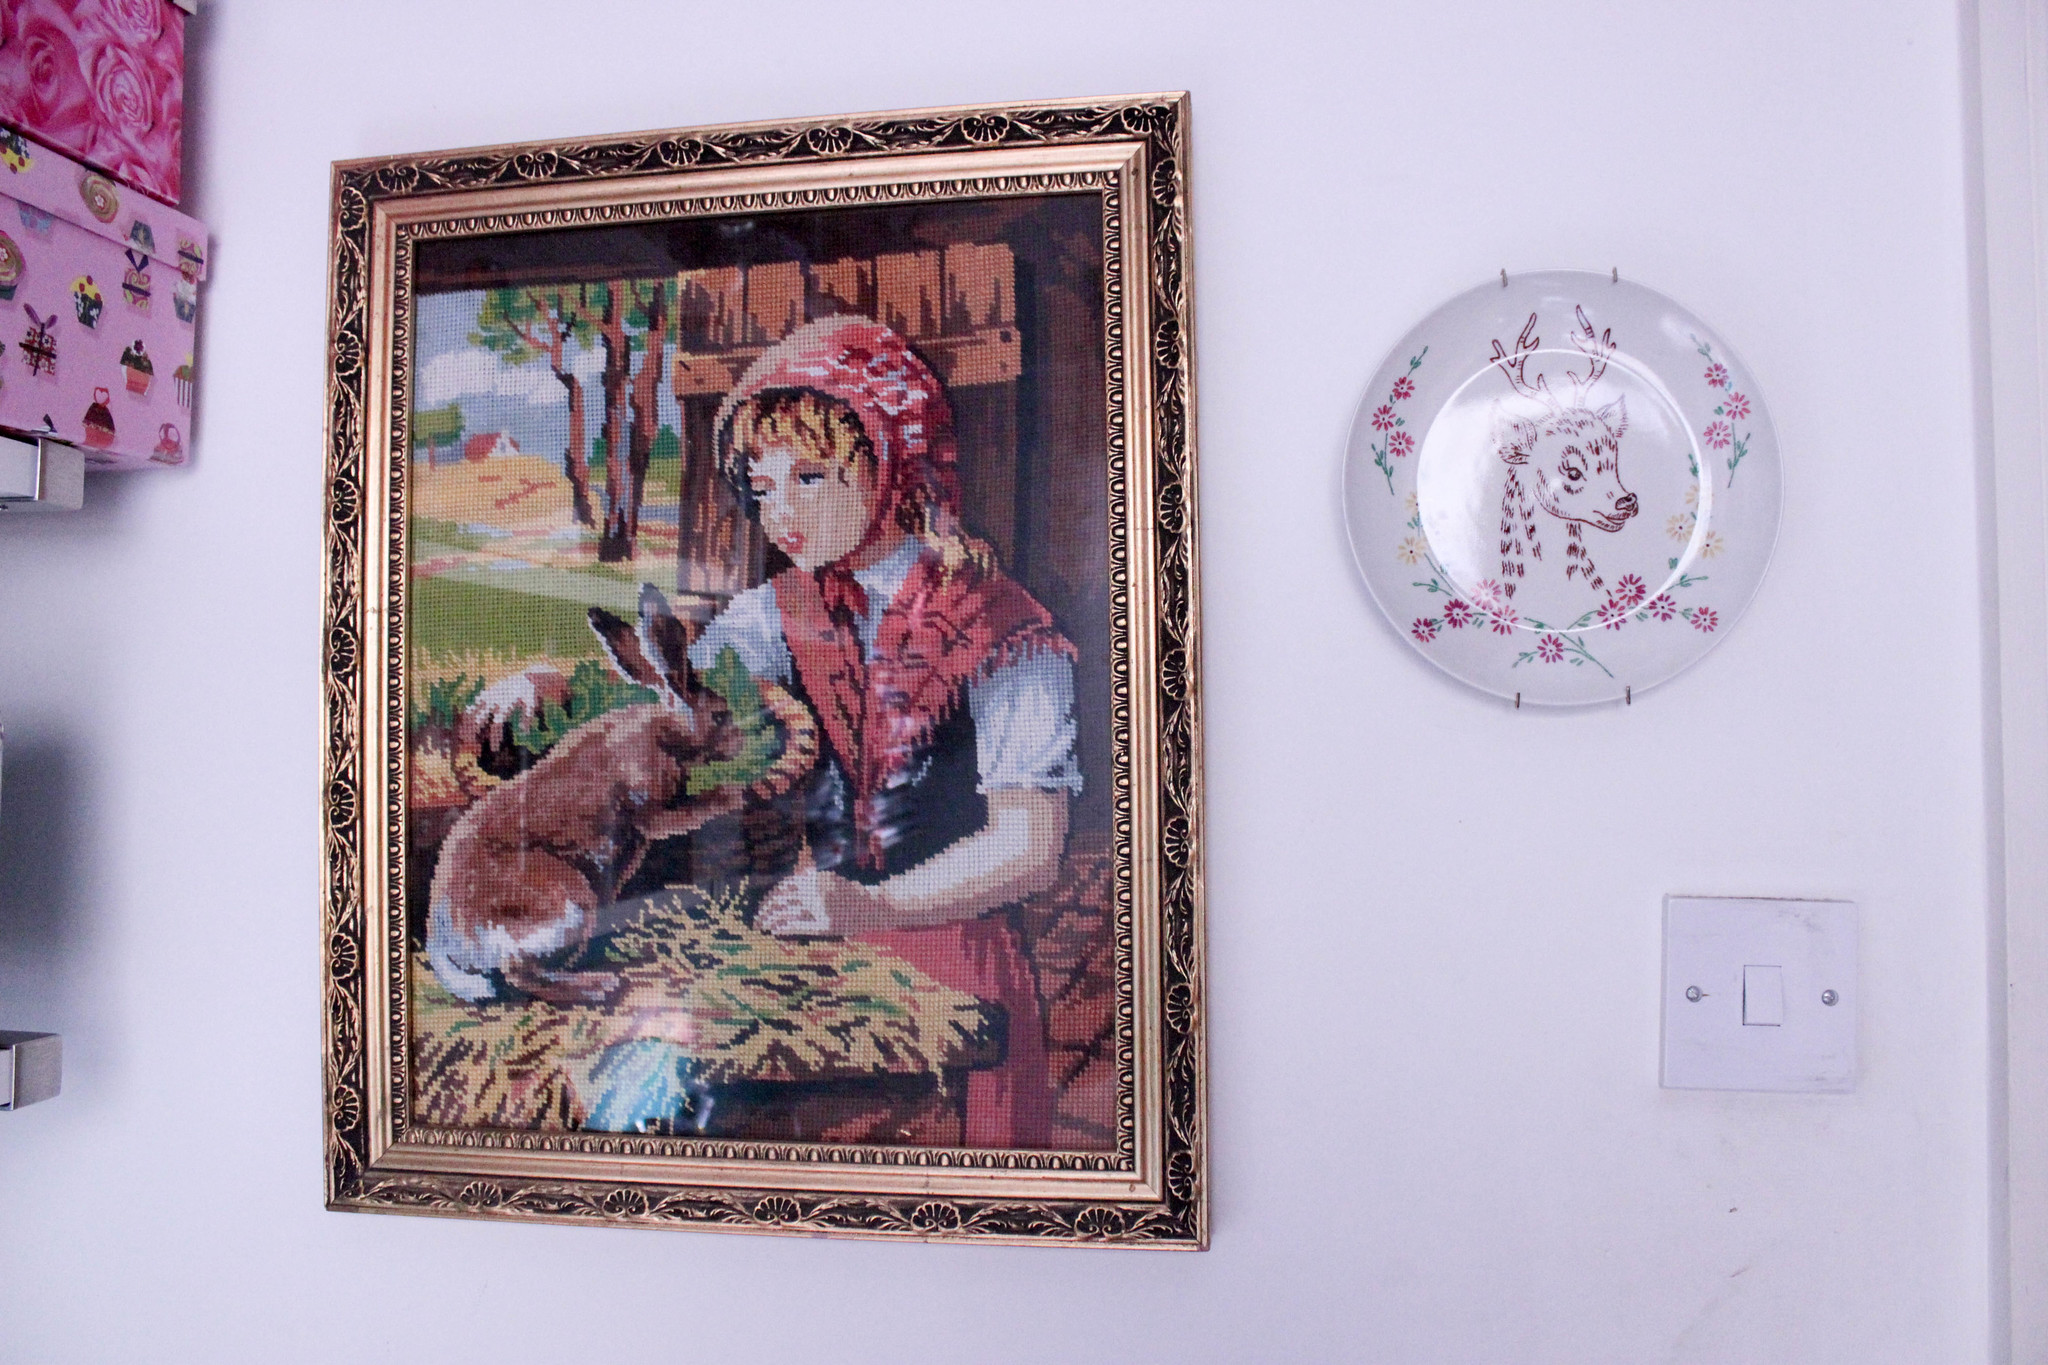
A detail of the wall opposite the window: a vintage embroidered frame gifted by the bf and a lovely deer plate, gifted by my friend Stacey, by occasion of my wedding. I finally got to put it up on a wall! There isn’t a lot of wall left in the room, but I had to make the most out of it.
So there it is. This is the state of the work room as it stands at this point. There is still a lot to be done: drag the hot pink drawer unit I picked up from downstairs and put it under the desk, get a decent table top – the current one was inherited from the previous tenant and it’s too weak. I also need to spend some time bejeweling the light switch, in the same way I did to the one in my bedroom. Trust me, it’s super tacky but makes it a lot of fun!
Also, organising things properly wouldn’t be a bad idea, but for now, it’s just a repository of art materials, waiting to be transformed into something which I hope will be interesting. It doesn’t look amazing yet but it certainly has the potential to be great and all in all, didn’t have to spend a load of money as most of the furniture on here was either free or for a very good price. I can see a positive already: it’s made the process of spending more time working on art a lot easier for me, as it’s my own little studio.
What about you? Do you have a room you completely redid? Do you have any suggestions I can use to improve this space? I want to know!
PS: This post was sponsored by Bidvine – I was offered credit to use on the platform and review the service. Words and opinions are my own.


2 Comments
I love the choice of color. And your organizational skills are beyond impressive. So happy that you’re in a good place! And I must mention how crazy wonderful is the barfing Twiggy.
Damn, I did all the rooms in this house except for the bathroom loooool! My hall area has a wall in a very similar colour to yours, I loveeeee it! I would also love a tour of the other room, there’s this horrid thing about me that loves taking peeks into other people’s homes… how horrible I am!!
https://bloglairdutemps.blogspot.pt/